Repeating controls functionality in PowerApps can be achieved using Gallery Control of PowerApps.
Repeating control functionality can be useful in many scenarios. For instance, you can add multiple products in a data source, and you can add multiple clients’ details in the Data Source.
In this article using the repeating control feature we will save data for multiple employees in a SharePoint List.
In this example we will only use the text input control. But we can use any control inside the gallery for repeating control functionality.
Now let’s start building the solution for Repeating Control in PowerApps.
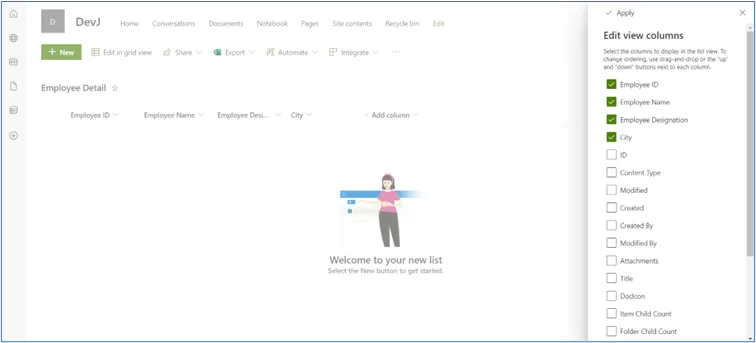
Create SharePoint List
| Column Name | Column Field |
|---|---|
| Employee ID | Number |
| Employee Name | Single line of text |
| Employee Designation | Single line of text |
| City | Single line of text |

Create PowerApp
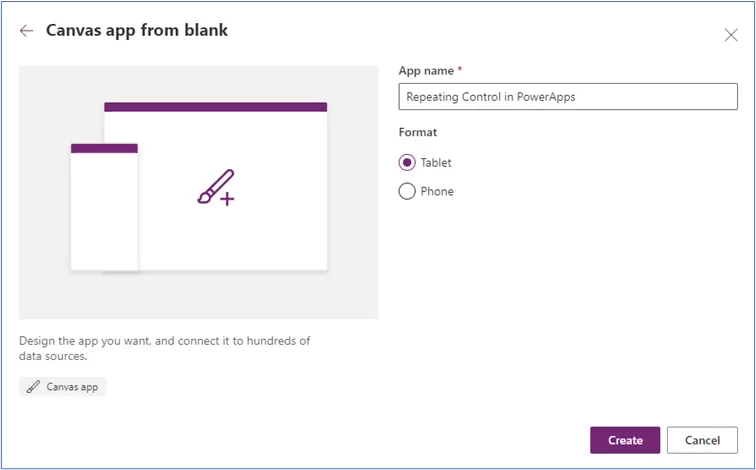
Step 1: Create new canvas app.

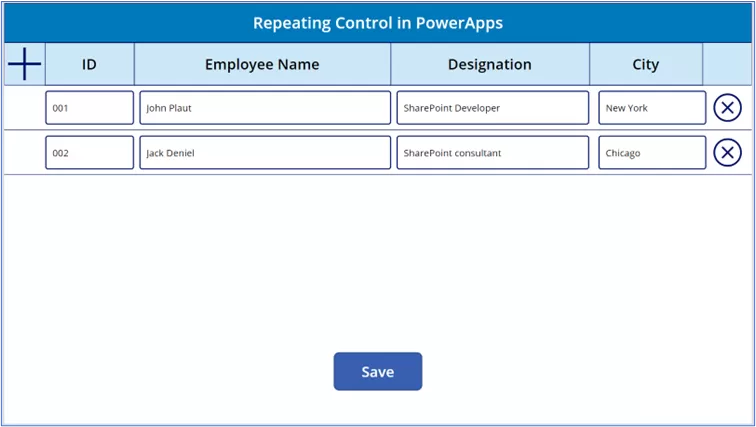
Step 2: Add Label controls for the heading purposes in the screen that looks like as below and add “+” icon in the first column.

Step 3: After adding “+” icon set its “OnSelect” property as below:
Collect(
    DetailCollection,
    {
        Emp_ID: Text(Last(DetailCollection).Emp_ID + 1),
        Emp_Name: "",
        Emp_Des: "",
        Emp_City: ""
    }
)

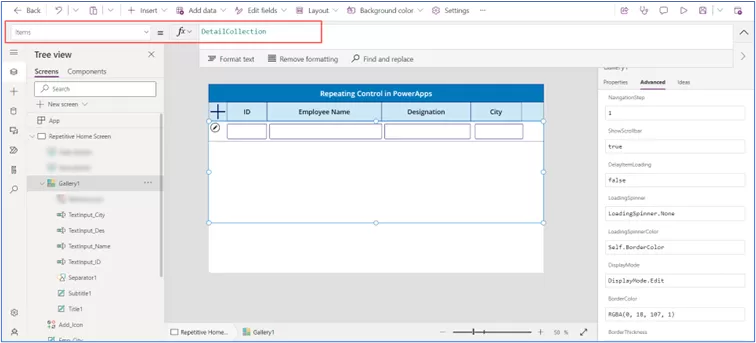
Step 4: Now add the Blank Vertical gallery control and add text input controls for each field (which are created in “Employee Detail” SharePoint list).
Select the gallery control and set its “Items” property to the collection name:
DetailCollection

Step 5: Add Cancel icon in gallery to remove each row from gallery control.
For that, set property on “OnSelect” property to:
RemoveIf(
    DetailCollection,
    Emp_ID = ThisItem.Emp_ID
)

Step 6: Now we will save the rows in the SharePoint list.
Insert button and set formula on “OnSelect” property.
ForAll(Gallery1.AllItems,Patch(
    'Employee Detail',
    Defaults('Employee Detail'),
    {
        'Employee ID': TextInput_ID.Text,
        'Employee Name': TextInput_Name.Text,
        'Employee Designation': TextInput_Des.Text,
         City: TextInput_City.Text
    }
));
Here we will patch all rows into SharePoint list.

Step 6: Now test the solution for new entries.

After click on “Save” button then go to the SharePoint list. You can see the new items have been created in list.

In conclusion, leveraging the repeating control functionality within PowerApps offers a powerful solution for handling repetitive data entry tasks efficiently.
By utilizing Gallery Control, we’ve demonstrated how to streamline the process of managing multiple entries, such as employee details, within a SharePoint list.
Reality Tech Provides Microsoft PowerApps Solutions, through which organizations can enhance productivity and optimize data management workflows.
Whether it is managing products, client details, or employee information, PowerApps provides a versatile platform for building robust applications tailored to specific business needs.
Explore the myriad possibilities offered by PowerApps to revolutionize your data management strategies and propel your organization toward greater efficiency and success.
One thought on “Repeating Control in PowerApps”
Leave a Reply
Want to talk?
Drop us a line. We are here to answer your questions 24*7.


I’m looking at the “Repeating Control in Power Apps” article, but it doesn’t tell how to associate the repeating section with the SharePoint item so that when a user opens the item, they see the repeating data as well. Whenever I save a repeating section, close the item, and then re-open it, the repeating data is gone. How can I permanently associate the repeating section (child records) with the master record?